Is your lawn mower pull cord not retracting properly or has it snapped? Don’t worry; you don’t need to take it to a professional repair service. With a few simple steps, you can replace the cord yourself and save money.
While this DIY repair may seem daunting, it is relatively easy and can be done with some basic tools. In this article, I will guide you through the simple steps to replace the pull cord on your lawn mower.
Key Takeaways:
- Replacing the pull cord on your lawn mower is an easy DIY repair that can save you money.
- A few basic tools and some simple steps are all you need to replace the cord.
- Consult your lawn mower’s manual for specific instructions before starting the repair.
- Remember to take necessary precautions to avoid injury while repairing your lawn mower.
- By following this guide, you can keep your lawn mower in working order and your lawn tidy.
A Step-by-Step Guide to Replacing the Pull Cord on Your Lawn Mower
Having trouble with your lawn mower’s pull cord? This guide will show you how to replace it easily and affordably. Get your lawn mower up and running again in no time!
Step 1: Diagnose the problem
The first step to replacing your lawn mower’s pull cord is to figure out the problem. If the cord has snapped, it’s a clear indication of a replacement. However, if it appears to be stuck or not retracting as it should, it could be due to a few issues:
- The cord is tangled or blocked.
- The recoil spring is broken or worn out.
- The pulley is damaged or broken.
Take the necessary precautions and disconnect the spark plug before diagnosing the problem.
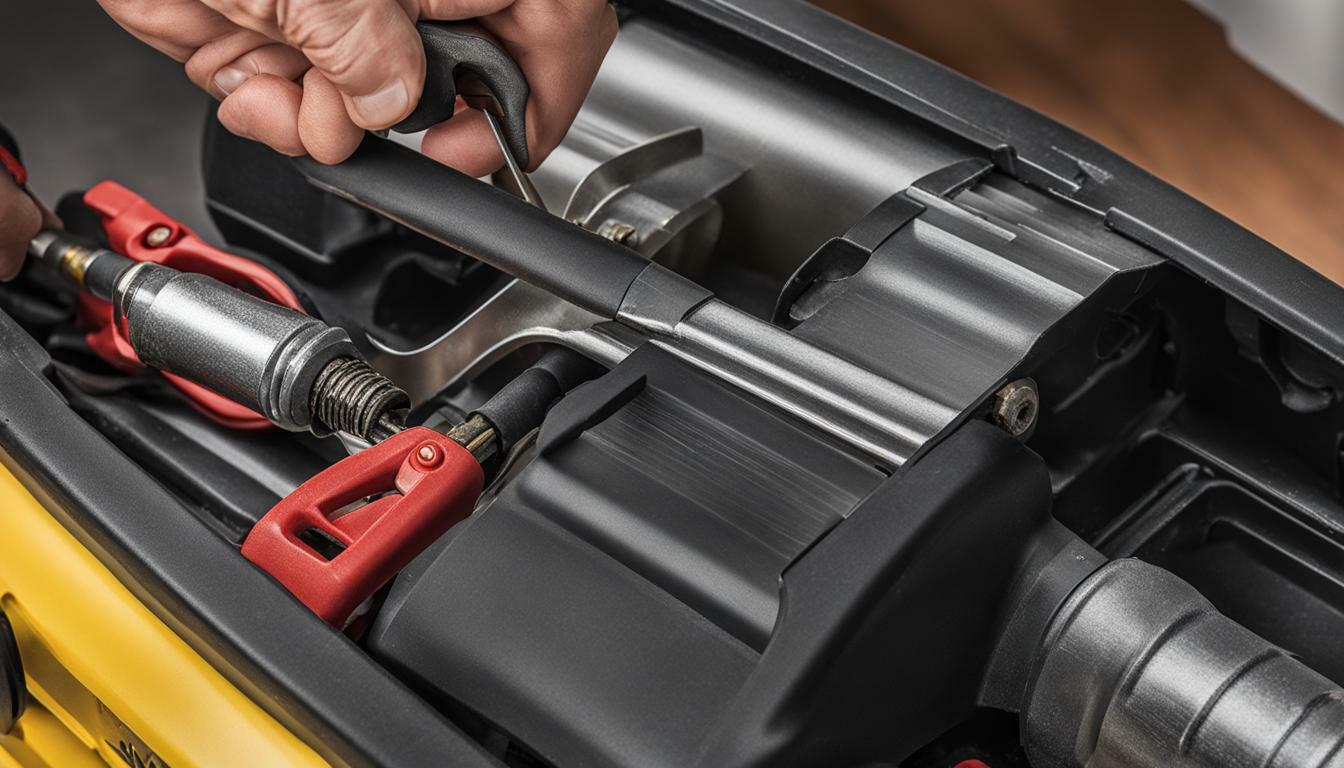
Step 2: Assess the damage and gather your tools
Once you’ve identified the issue with your pull cord, inspect the recoil starter assembly for any damage. You can then assess what tools you’ll need for the repair.
Common tools required:
- Screwdriver
- Pliers
- New pull cord
- New recoil spring (if damaged)
Step 3: Remove the old pull cord
Start by detaching the starter assembly from the lawn mower engine. Undo the screws and then detach the cover to reveal the recoil spring. Carefully pull out the old cord from the pulley and cut off any frayed or damaged edges.
Wind back the pulley to its original position, and then thread the new cord through the hole in the starter cover. Then, thread the other end through the center of the pulley.
Step 4: Reassemble the starter assembly
Next, wind the pulley on the starter assembly in the direction of the arrow, until there is tension on the spring. Once you feel resistance, wind it around five more times. Thread the end of the pull cord through the notch in the pulley and tie a knot to secure it. From here, you can reattach the cover and screw it into place. Once it’s secured, reattach the starter assembly back onto the engine and reconnect the spark plug.
Step 5: Give it a test run
Finally, give your lawn mower a test run to ensure the new cord is working as it should. Give it a few pulls to ensure the tension is correct, and the cord is retracting as it should. If you encounter any issues, you may need to troubleshoot the problem further.
By following these simple steps, you’ll save yourself time and money by fixing your lawn mower’s pull cord yourself. It’s a straightforward repair that anyone can do, without the need for professional assistance.
Tips for Replacing the Pull Cord on Your Lawn Mower
Tip 1: Before attempting to replace the pull cord, make sure to consult your lawn mower’s manual for specific instructions and safety precautions.
Tip 2: If your pull cord is not retracting properly, it may be due to a tangled or jammed cord. To fix this, disconnect the spark plug wire, remove the starter assembly, and untangle the cord. Once the cord is straightened, reattach the assembly and try pulling the cord again.
Tip 3: If the cord has snapped, begin by removing the starter assembly, then disconnect the old cord from the pulley and spool. Cut a new cord to the same length as the old one and thread it through the starter handle, pulley, and spool. Tie a knot at the end of the cord and pull it tight, then reattach the assembly to the mower.
Tip 4: When reassembling the starter assembly, make sure to properly align all the components so that the cord can retract smoothly. Test the cord a few times to ensure it is properly tensioned and retracts smoothly before using the mower.
With these simple tips, replacing the pull cord on your lawn mower should be a straightforward DIY repair that will keep your mower running smoothly for years to come.